How to add custom prices?
Revopy allows you to add custom prices for your licenses. This feature is particularly useful for organizations that require specific pricing structures or have unique licensing agreements. By adding custom prices, you can ensure that the analytics and reports reflect the actual costs associated with your licenses, providing a more accurate representation of your organization's financials. Follow the steps below to add custom prices in Revopy:
1. Download Azure Storage Explorer
- Download Azure Storage Explorer from this link.
- Install the application.
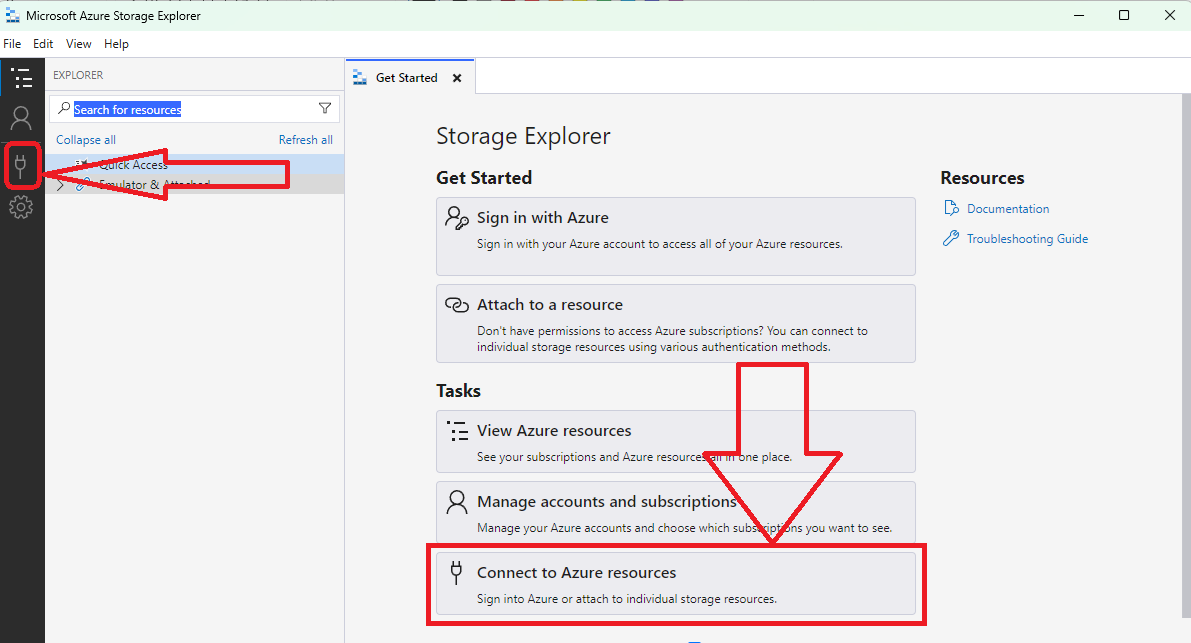
2. Open Azure Storage Explorer
- After installation, open the app.
- Click on the plug (connector) symbol on the left side panel or the 'Connect to Azure resources' option.
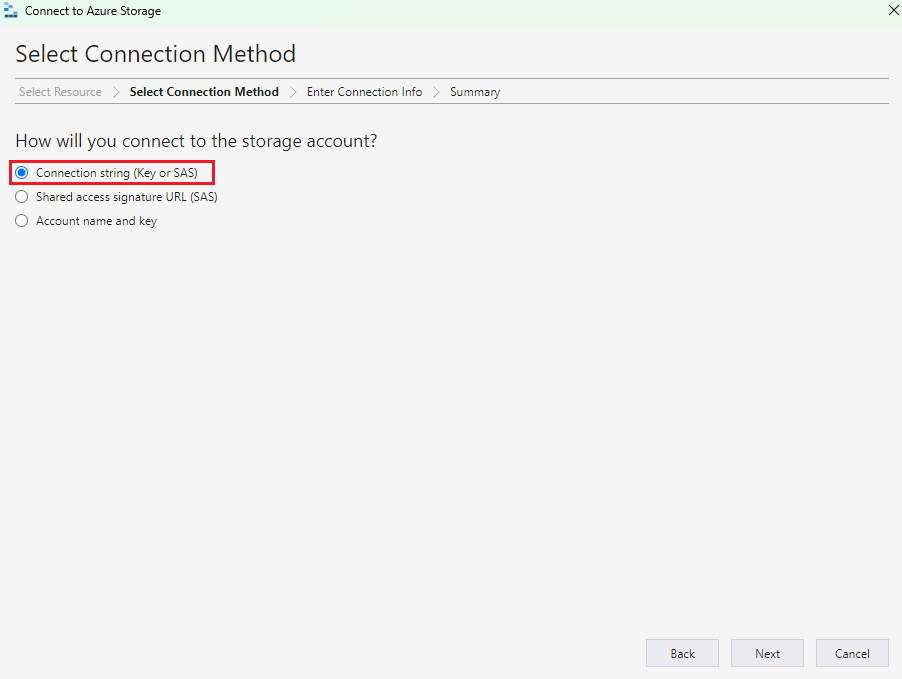
3. Select Connection Method
- In the "Connect to Azure Storage" wizard:
- Choose "Connection string (key or SAS)" as the method.
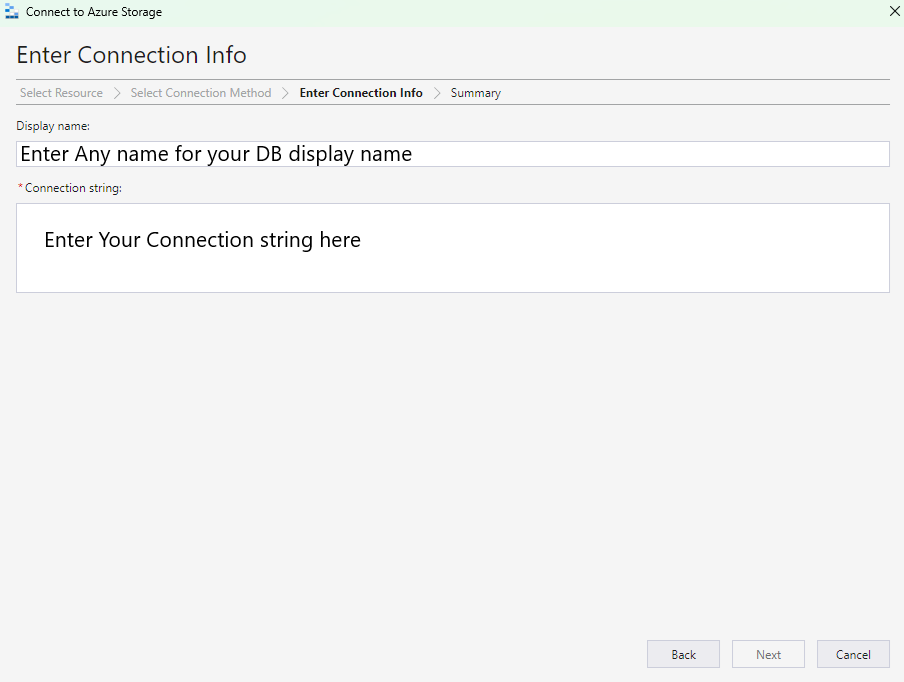
4. Enter Connection Info
- Provide a display name (any name you want for easy identification).
- Enter your Azure Storage connection string (steps to get connection string)
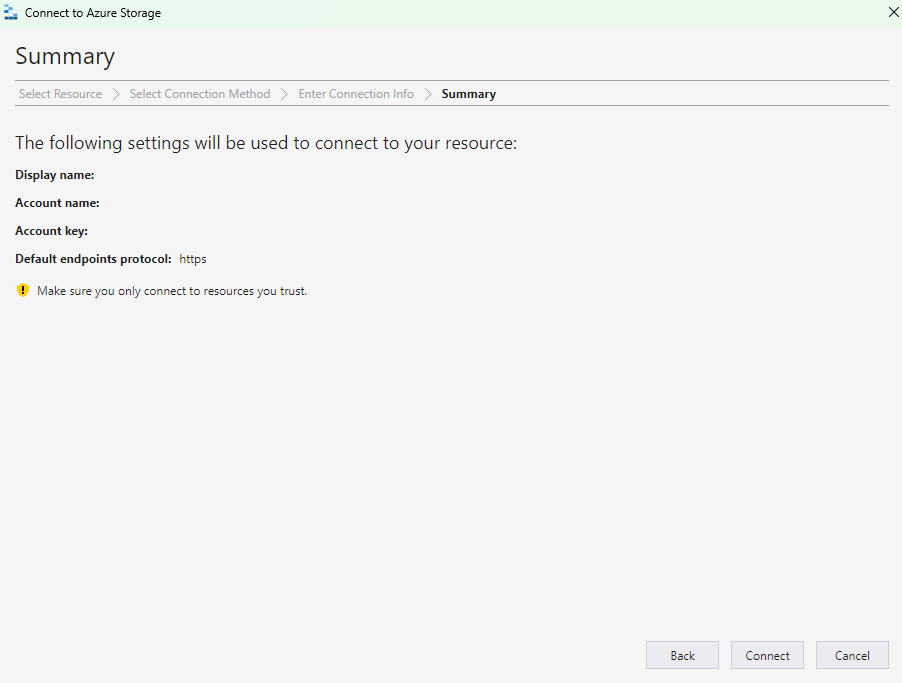
5. Review and Connect
- Review the provided details (display name, account name, and protocol).
- Click Connect to finish connecting to your Azure Storage.
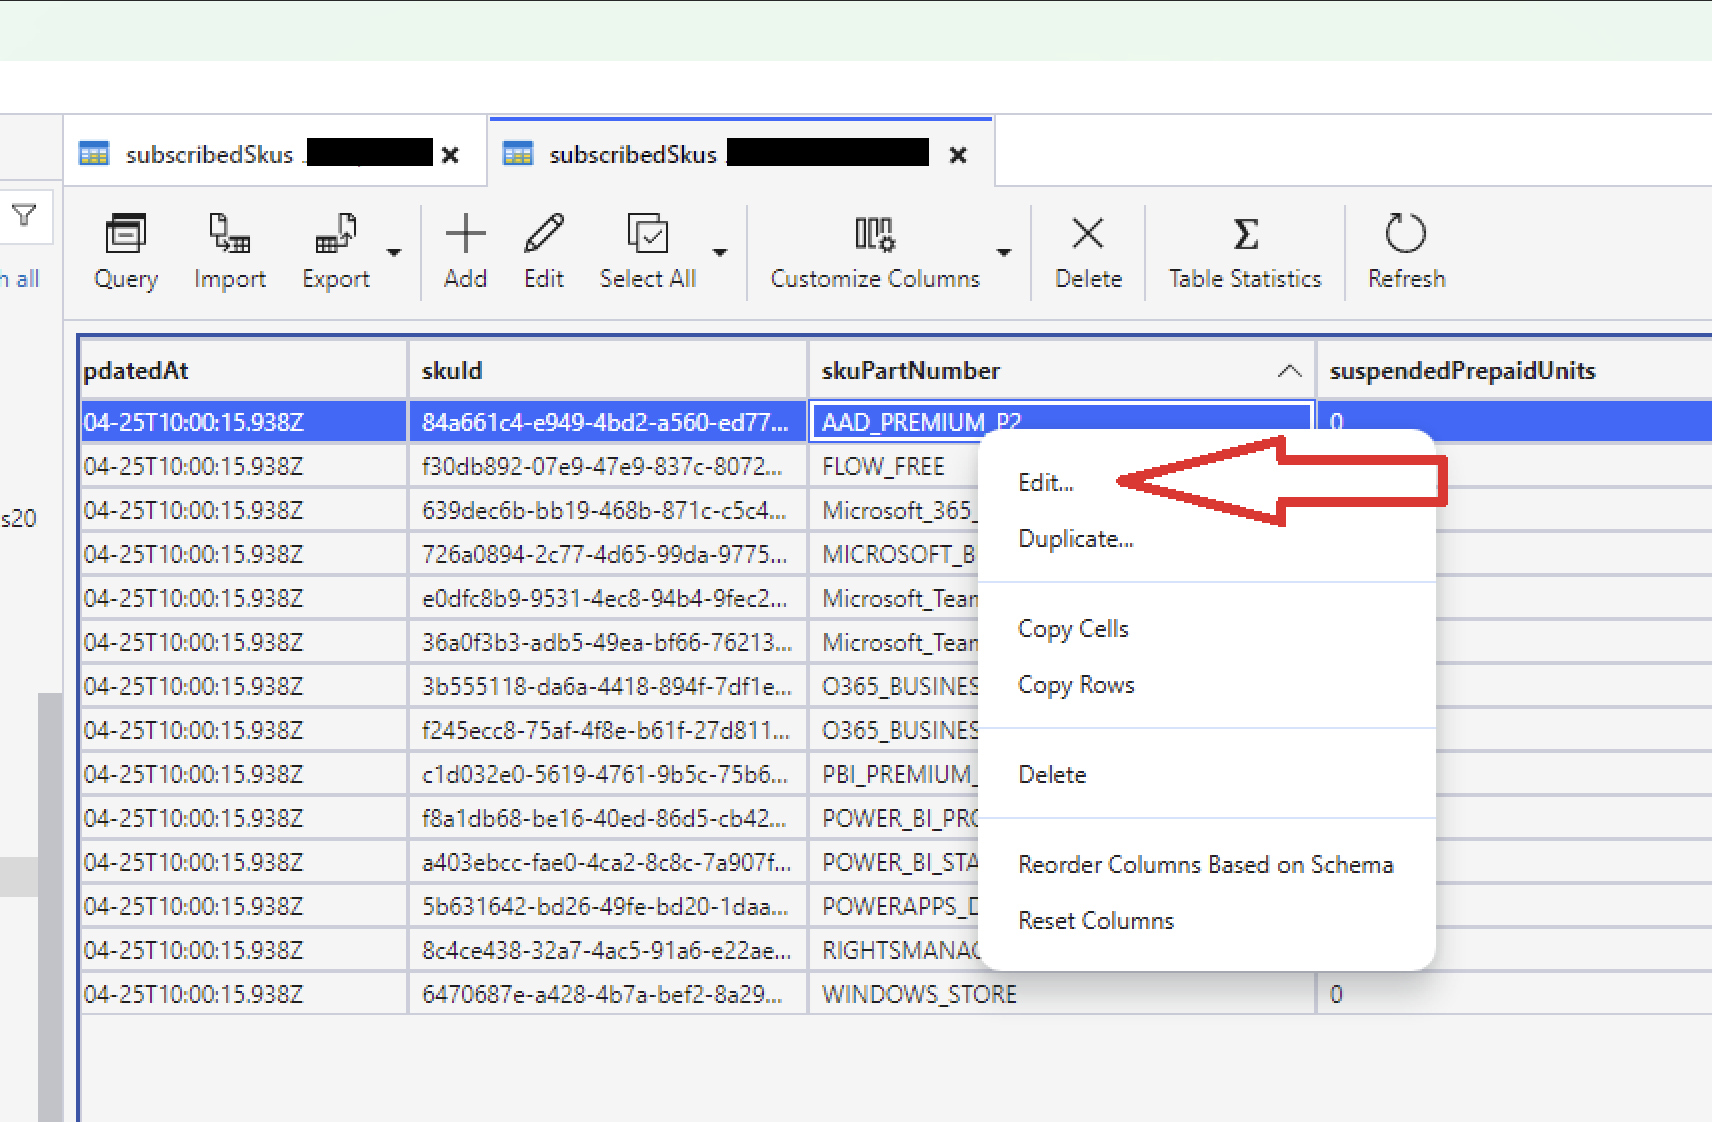
6. Editing Records in Azure Storage Explorer
- After connecting, browse to your table or blob storage.
- Right-click the item you want to edit and select "Edit...".
7. Add or Update Property
- To add a new property:
- Click Add Property.
- Enter the property name
customerPrice. - Choose the data type (e.g.,
Double). - Enter a valid floating-point value like
1.234. - Finally click Update
warning
The new property must be named customerPrice.

8. Final View
- Once updated, the
customerPricefield will be populated and a new column should appear in your table with the same name and values for all entry will benull.

- Now you can double clik on the row for the licenses you want to add the customerPrice to and enter the value of
customerPrice(which will be already present now due to the previous creation)